How To Submit a Form Using Vue
This example will walk you through everything you need to know to process form submissions with Formeezy and Vue. Both of these examples include support for file uploads as well as the optional honeypot bot-field for spam prevention. Axios is the popular Fetch library used in these examples, but any library you would prefer will work just fine.
Overview
- Create a new Form Endpoint
- Create a basic contact form
- Create a new Vue Component
- Add a submit handler to process data
Step 1 - Create a new Formeezy Endpoint
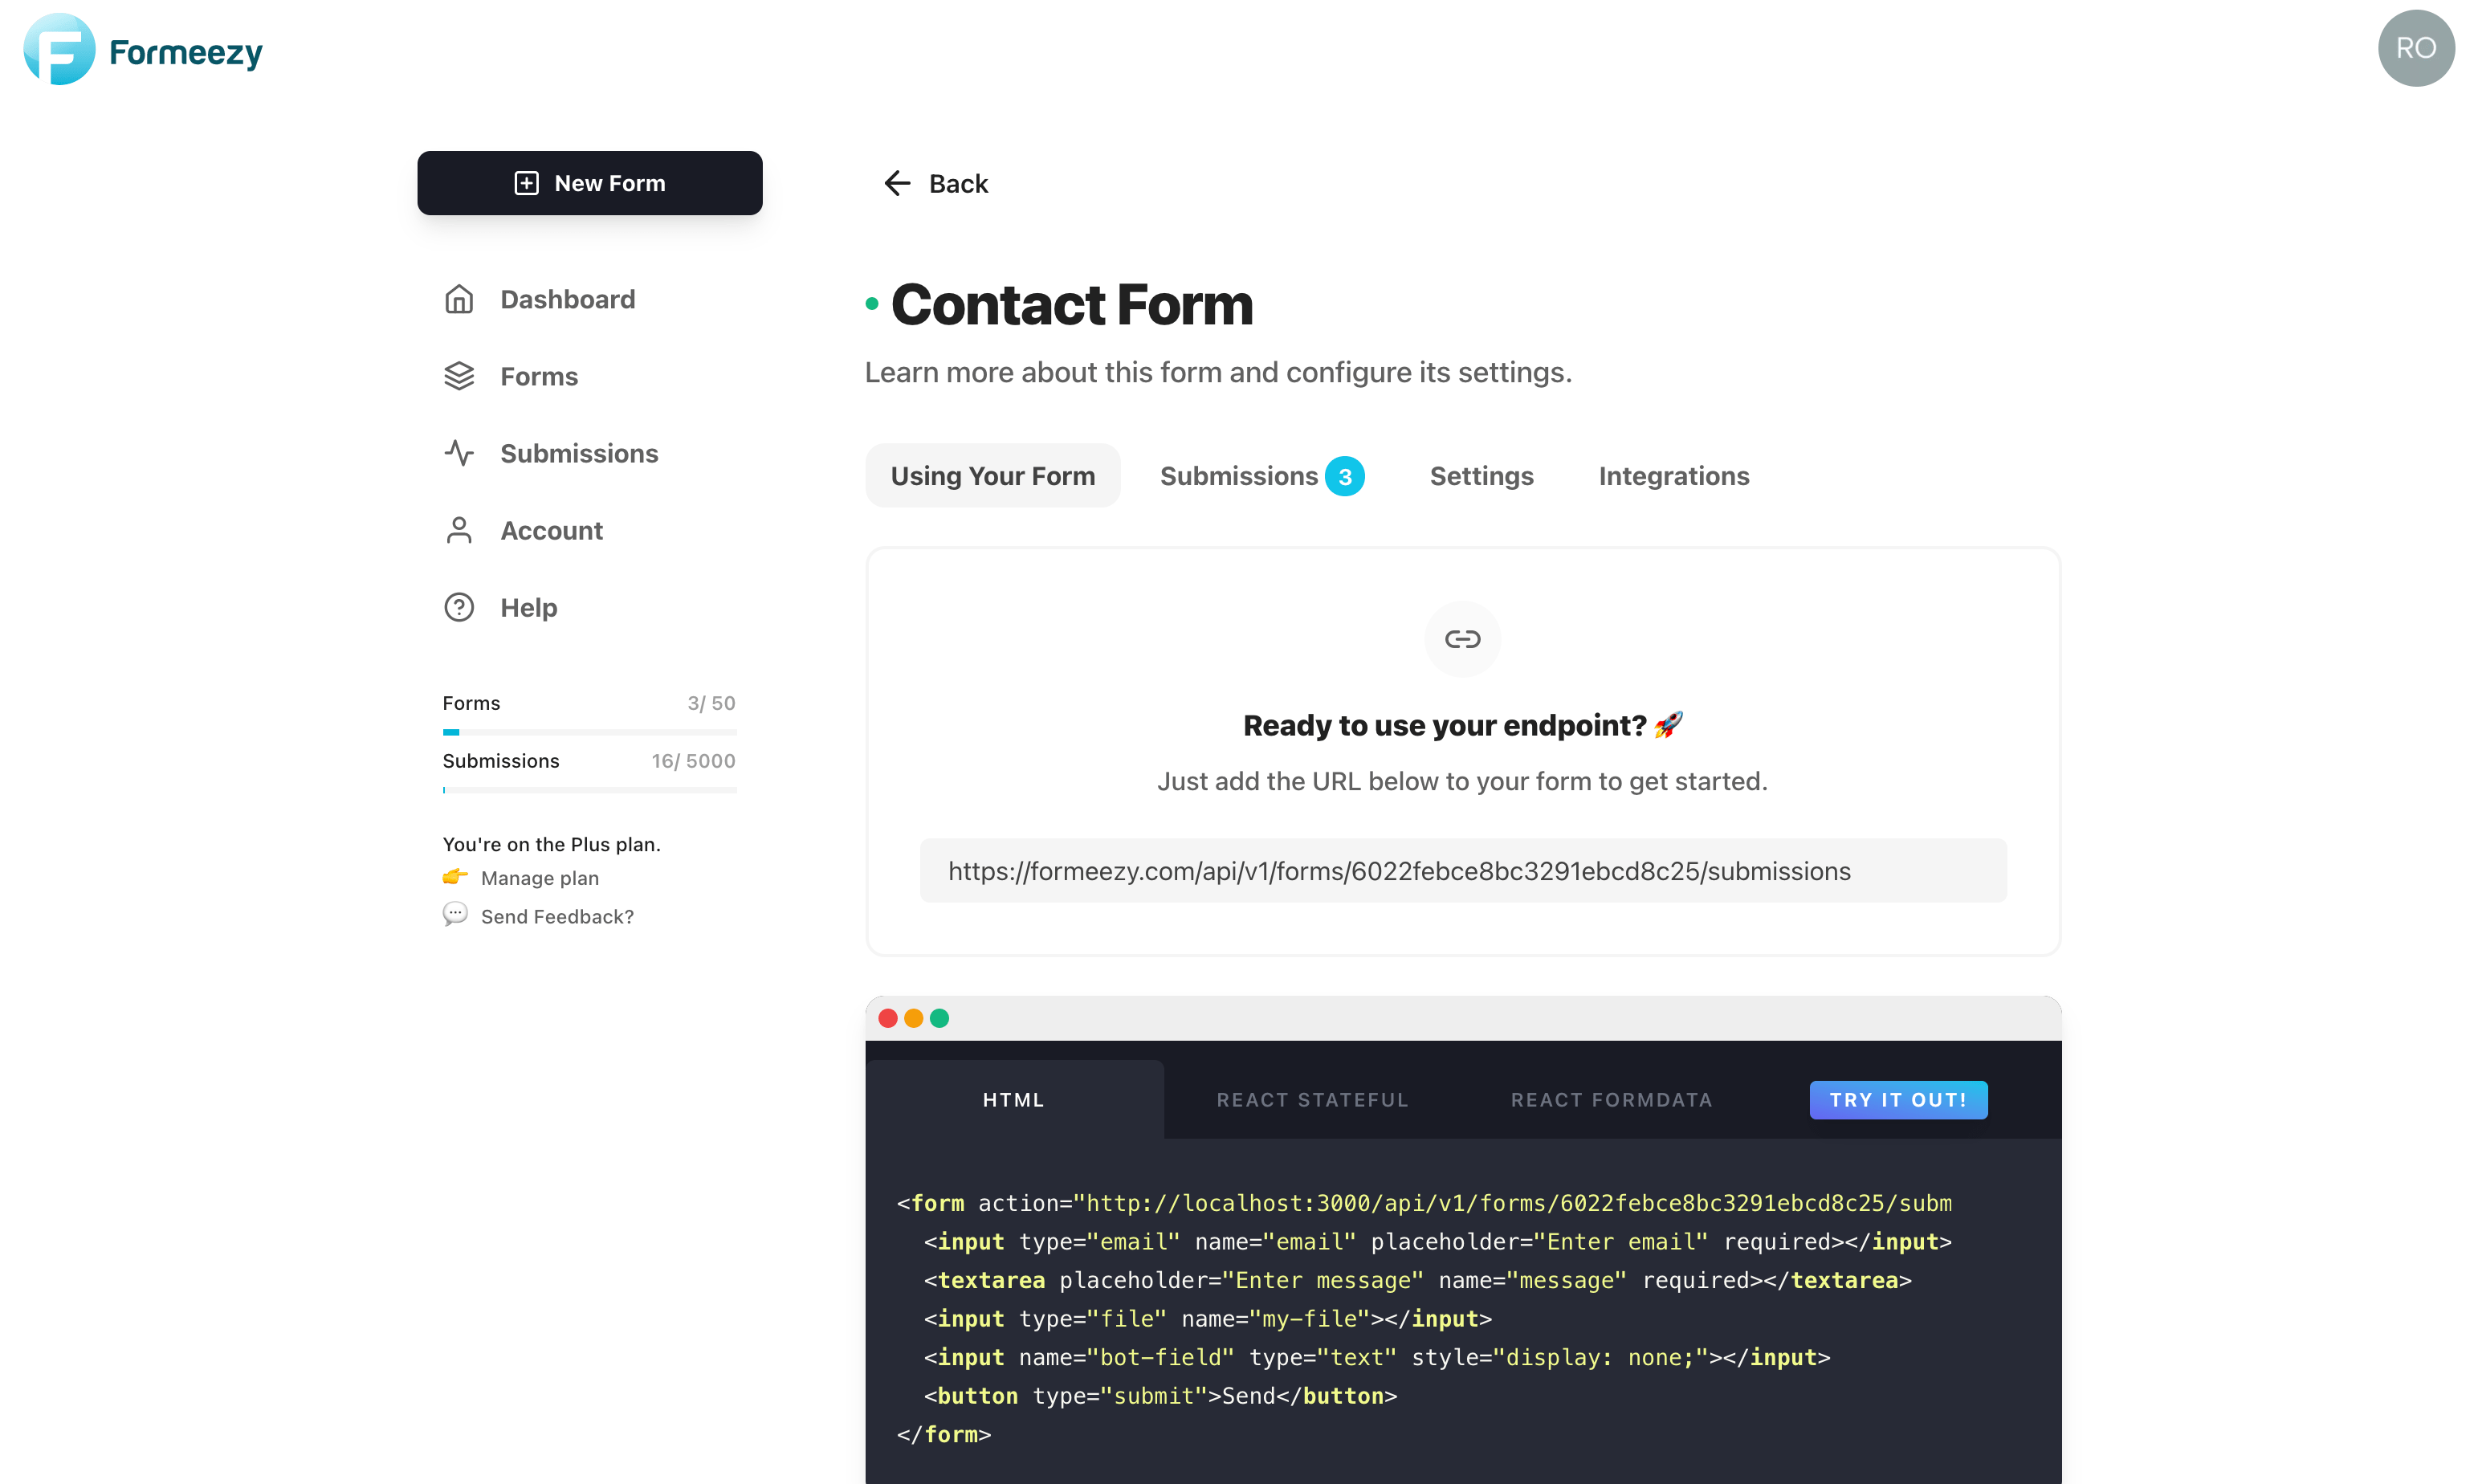
If you haven't already, create a new Formeezy endpoint to submit your form data to.
ENDPOINT "https://formeezy.com/api/v1/forms/FORM_ID/submissions"
Step 2 - Create a basic HTML form
To get started, you'll need to create an HTML form for your users to fill out and send submissions. When you create your endpoint, we'll automatically generate a starter contact form for your convenience. Feel free to copy the one below, or copy directly from the default code we create for your form.
<form action="#" method="POST"> <input type="text" name="name" placeholder="Enter name" required></input> <input type="email" name="email" placeholder="Enter email" required></input> <textarea placeholder="Enter message" name="message" required></textarea> <button type="submit">Send</button> </form>
Step 3 - Create a new Vue Component
Now that we have our form designed, let's add it to a new Vue Component. Add your Vue bindings to bind the form data like the below. We'll be using a submit handler called handleSubmit to process submissions. Include the @submit.prevent to prevent the page from reloading on submit.
Bind the form data
Use standard Vue bindings to bind the input values to our component's state, as well as add a submit handler. After this you're ready to add your script to
<template> <form @submit.prevent="handleSubmit"> <input v-model="form.name" type="text" name="name" placeholder="Enter name" required></input> <input v-model="form.email" type="email" name="email" placeholder="Enter email" required></input> <textarea v-model="form.message" placeholder="Enter message" name="message" required></textarea> <button type="submit">Send</button> </form> </template>
On Submit Handler
Here we use the popular Fetch library Axios to make calls to our API endpoint. Feel free to use the Fetch API or another library in its place. The main takeaways are that we first create FormData from our form values which we then submit in our call. A redirect URL will be provided with both success and error states, that we can then redirect our user to.
<script> import axios from 'axios'; export default { name: 'ContactForm', data() { return { form: { name: "", email: "", message: "", }, }; }, methods: { handleSubmit: async function() { const formData = new FormData(); for (let [key, value] of Object.entries(this.form)) { formData.append(key, value); } await axios .post("{Formeezy-Endpoint}", formData) .then(({ data }) => { const { redirect } = data; // Redirect used for reCAPTCHA and/or thank you page window.location.href = redirect; }) .catch((e) => { window.location.href = e.response.data.redirect; }); } } }; </script>
Test out your Form
Almost there! Import your new component into your Vue app and you're ready to test out your form. All submissions will be stored in your Formeezy account and can be connected to hundreds of apps with Zapier.
