How to Build A Contact Form With Nuxt JS
Nuxt JS is a popular static website builder with support for static pages, as well as server-side rendering. Nuxt JS allows you to create lightning-fast websites and apps built on Vue. Use the example below to easily create a contact form for your Nuxt JS static website or app.
This guide should take you less than 5 minutes to get a contact form working and storing submissions in your Formeezy account.
Overview
- Create a new Formeezy endpoint
- Add a new contact page
- Create your Vue contact form
- Try out your new form
Step 1 - Create a new Formeezy Endpoint
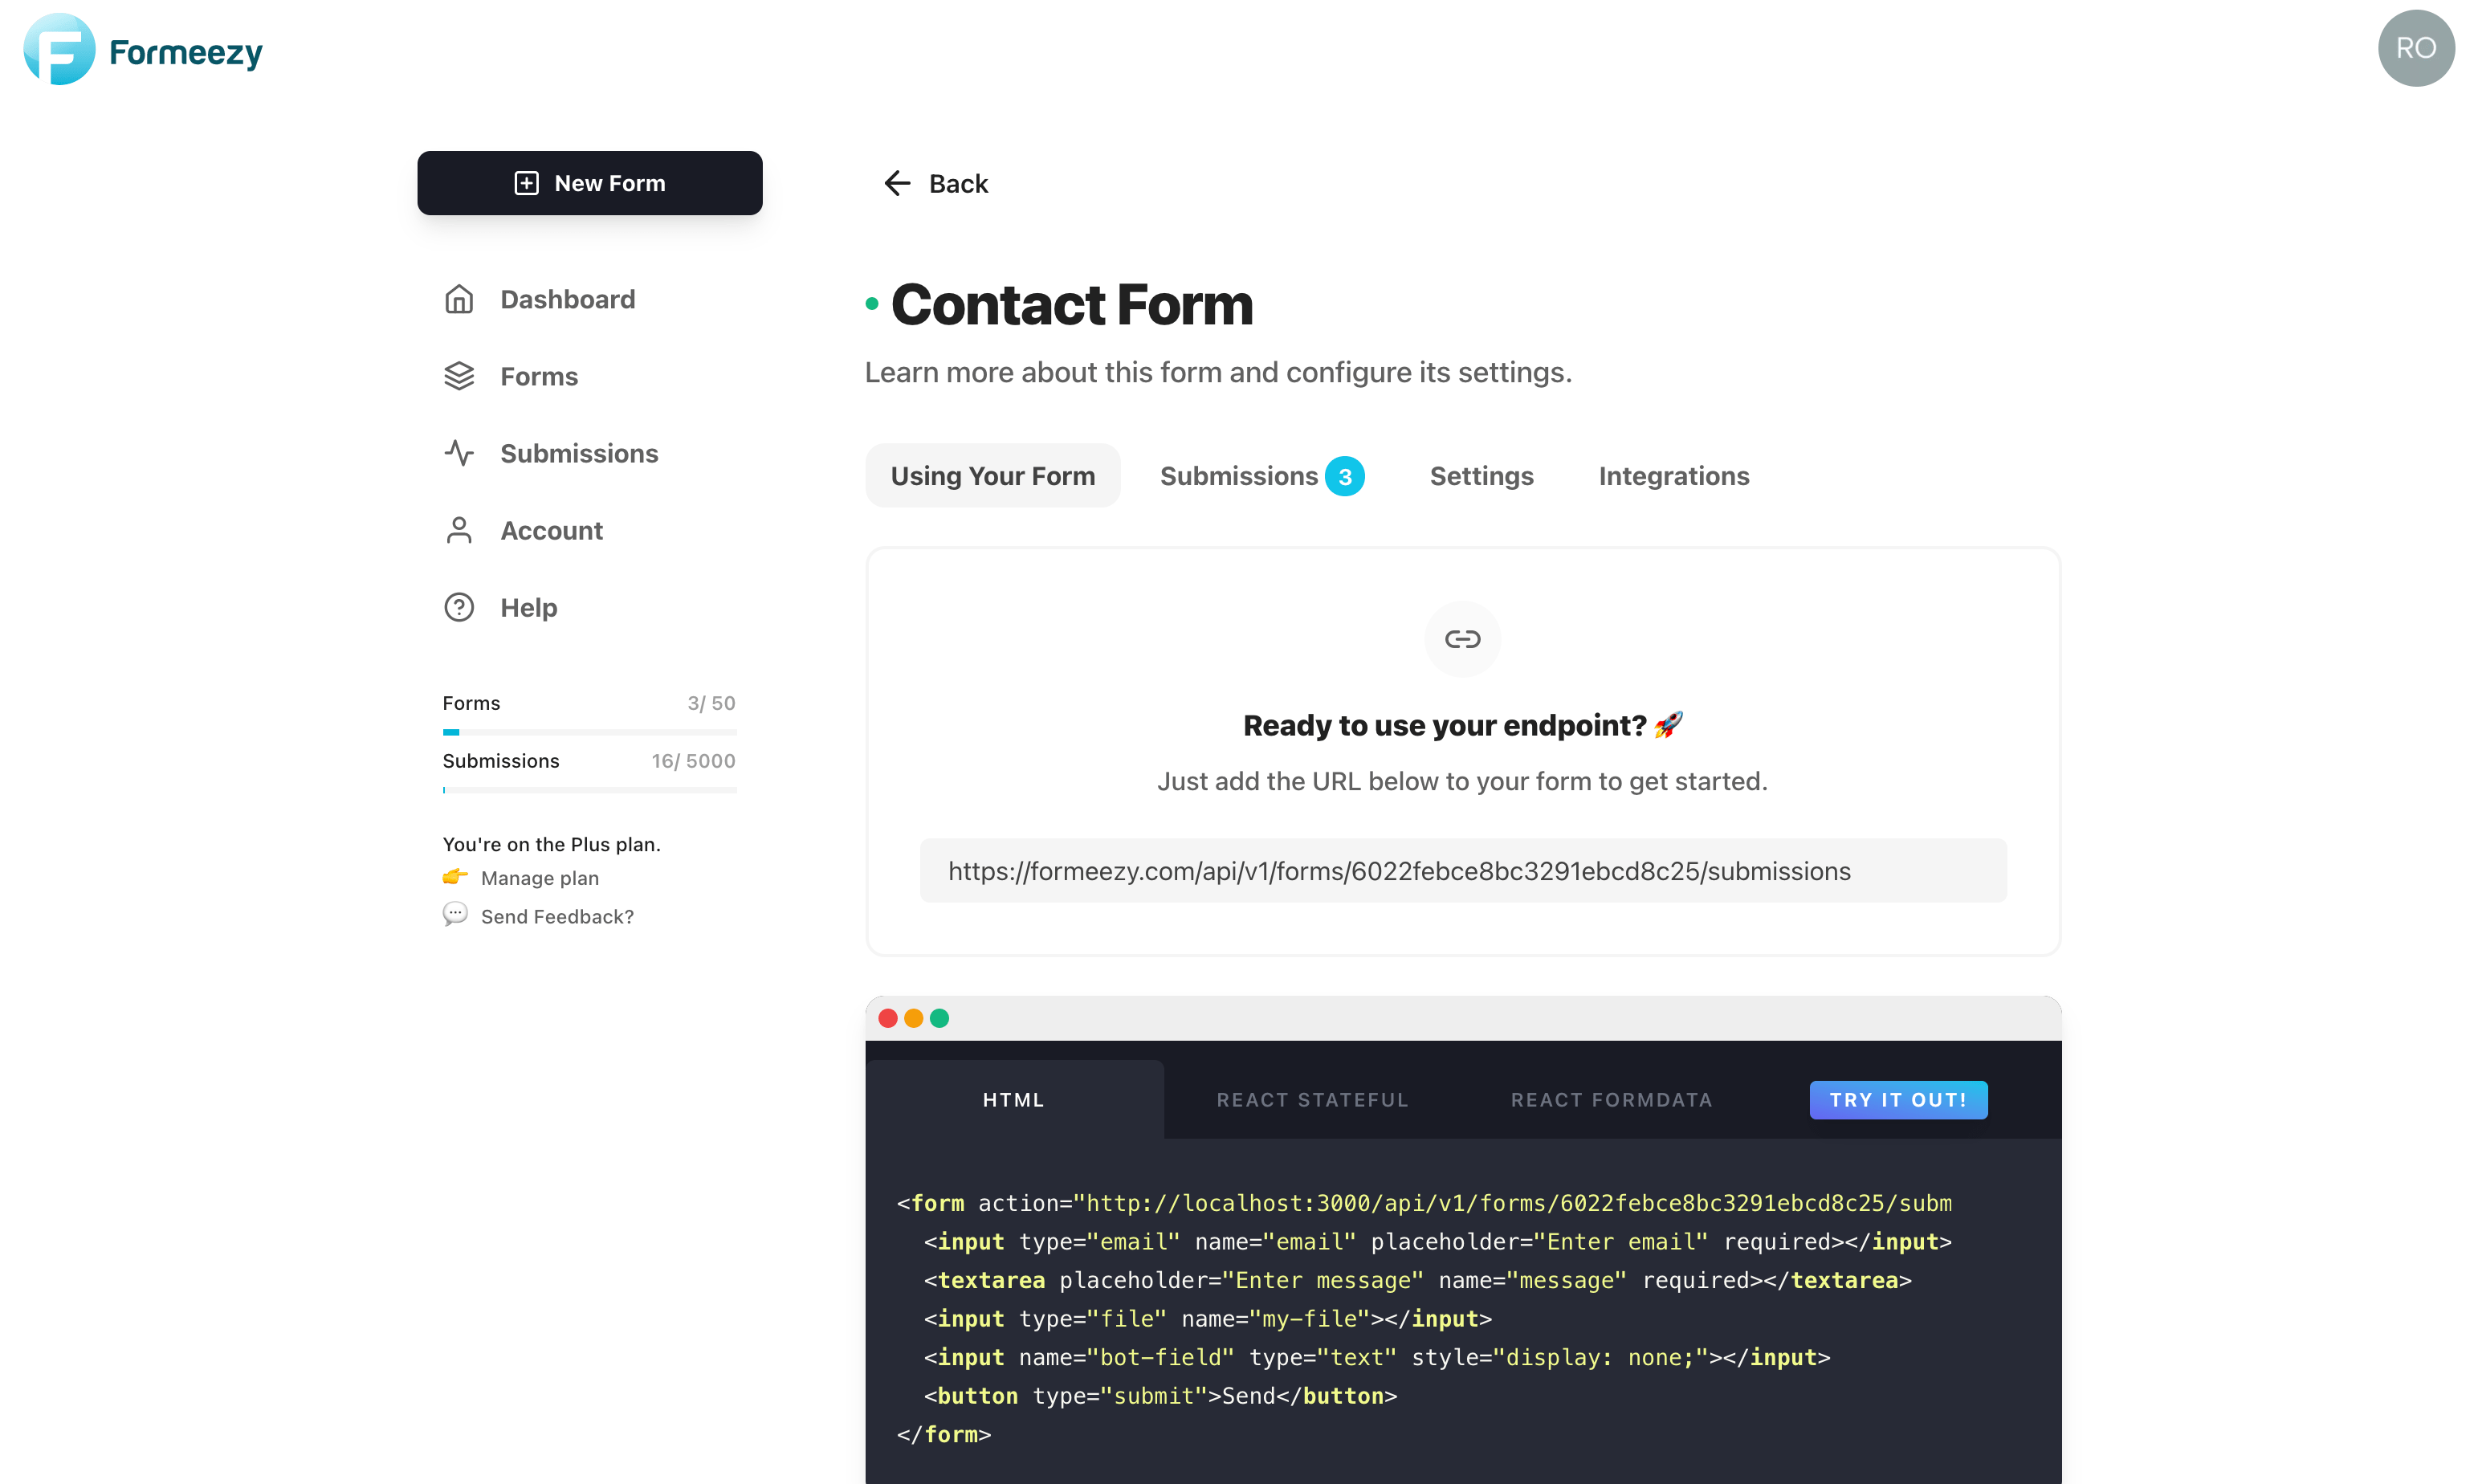
If you haven't already, create a new Formeezy endpoint to submit your form data to.
ENDPOINT "https://formeezy.com/api/v1/forms/FORM_ID/submissions"
Step 2 - Create your Contact Page
Create a new file called _contact.vue inside the /pages folder of your Nuxt JS site. Nuxt is built on Vue, so this is as simple as creating a new Vue Component.
<template> <h1>Contact Us!</h1> </template> <script> export default { // page properties go here } </script>
Step 3 - Add your Formeezy Form to your Nuxt Contact Page
Nuxt JS runs on Vue, so this example will be very similar to our Vue Form Example. Add your form HTML inside your <template> tags with your input bindings as well as submit handler. We'll also add a script that uses Axios to POST your FormData to your unique Formeezy endpoint.
Make sure you replace the endpoint variable with your unique Formeezy endpoint, and we're done!
Vue HTML Form
<template> <h1>Contact Us!</h1> <form @submit.prevent="handleSubmit"> <input v-model="form.name" type="text" name="name" placeholder="Enter name" required></input> <input v-model="form.email" type="email" name="email" placeholder="Enter email" required></input> <textarea v-model="form.message" placeholder="Enter message" name="message" required></textarea> <button type="submit">Send</button> </form> </template>
Vue Submit Script
<script> import axios from 'axios'; export default { name: 'ContactForm', data() { return { form: { name: "", email: "", message: "", }, }; }, methods: { handleSubmit: async function() { const formData = new FormData(); for (let [key, value] of Object.entries(this.form)) { formData.append(key, value); } await axios .post("{Formeezy-Endpoint}", formData) .then(({ data }) => { const { redirect } = data; // Redirect used for reCAPTCHA and/or thank you page window.location.href = redirect; }) .catch((e) => { window.location.href = e.response.data.redirect; }); } } }; </script>
Step 4 - Try out your new contact form!
Save changes, start your site in development mode and navigate to localhost:3000/contact to see your form in action. All submissions will be automatically stored in your Formeezy account, with support for reCAPTCHA, Stripe, and Zapier.
yarn dev ... "The application is now running on http://localhost:3000."