How to Build A Contact Form With Gatsby JS
Gatsby JS is a popular static website builder that allows you to create lightning fast static websites built on React and GraphQL. Use the example below to easily create a new contact form for your Gatsby static website.
This guide should take you less than 5 minutes to get a contact form working and storing submissions in your Formeezy account.
Overview
- Create a new Gatsby site (optional)
- Add a new contact page
- Add your HTML form to the contact page
- Try out your new form
Step 1 - Create new Gatsby Install
If you haven't done so already, create a new Gatsby site using Gatsby's quick-start script. If you're adding this form to an existing site, skip ahead to Step 2.
npm init gatsby
Navigate to your new Gatsby install:
cd my-gatsby-site
Start your install in development mode so you can use hot-reloading:
npm run develop
You should see a link to your local install running:
"You can now view my-gatsby-site in the browser." ⠀ http://localhost:8000/
Step 2 - Create your Contact Page
Create a new file called contact.js inside the src/pages directory of your new/existing Gatsby site. Gatsby is based on React, so this is as simple as creating a new React Component.
import React from "react"; const Contact = () => { return ( <div> <h1>My Contact Page</h1> </div> ); }; export default Contact;
Step 3 - Add your Formeezy Form to your Contact Page
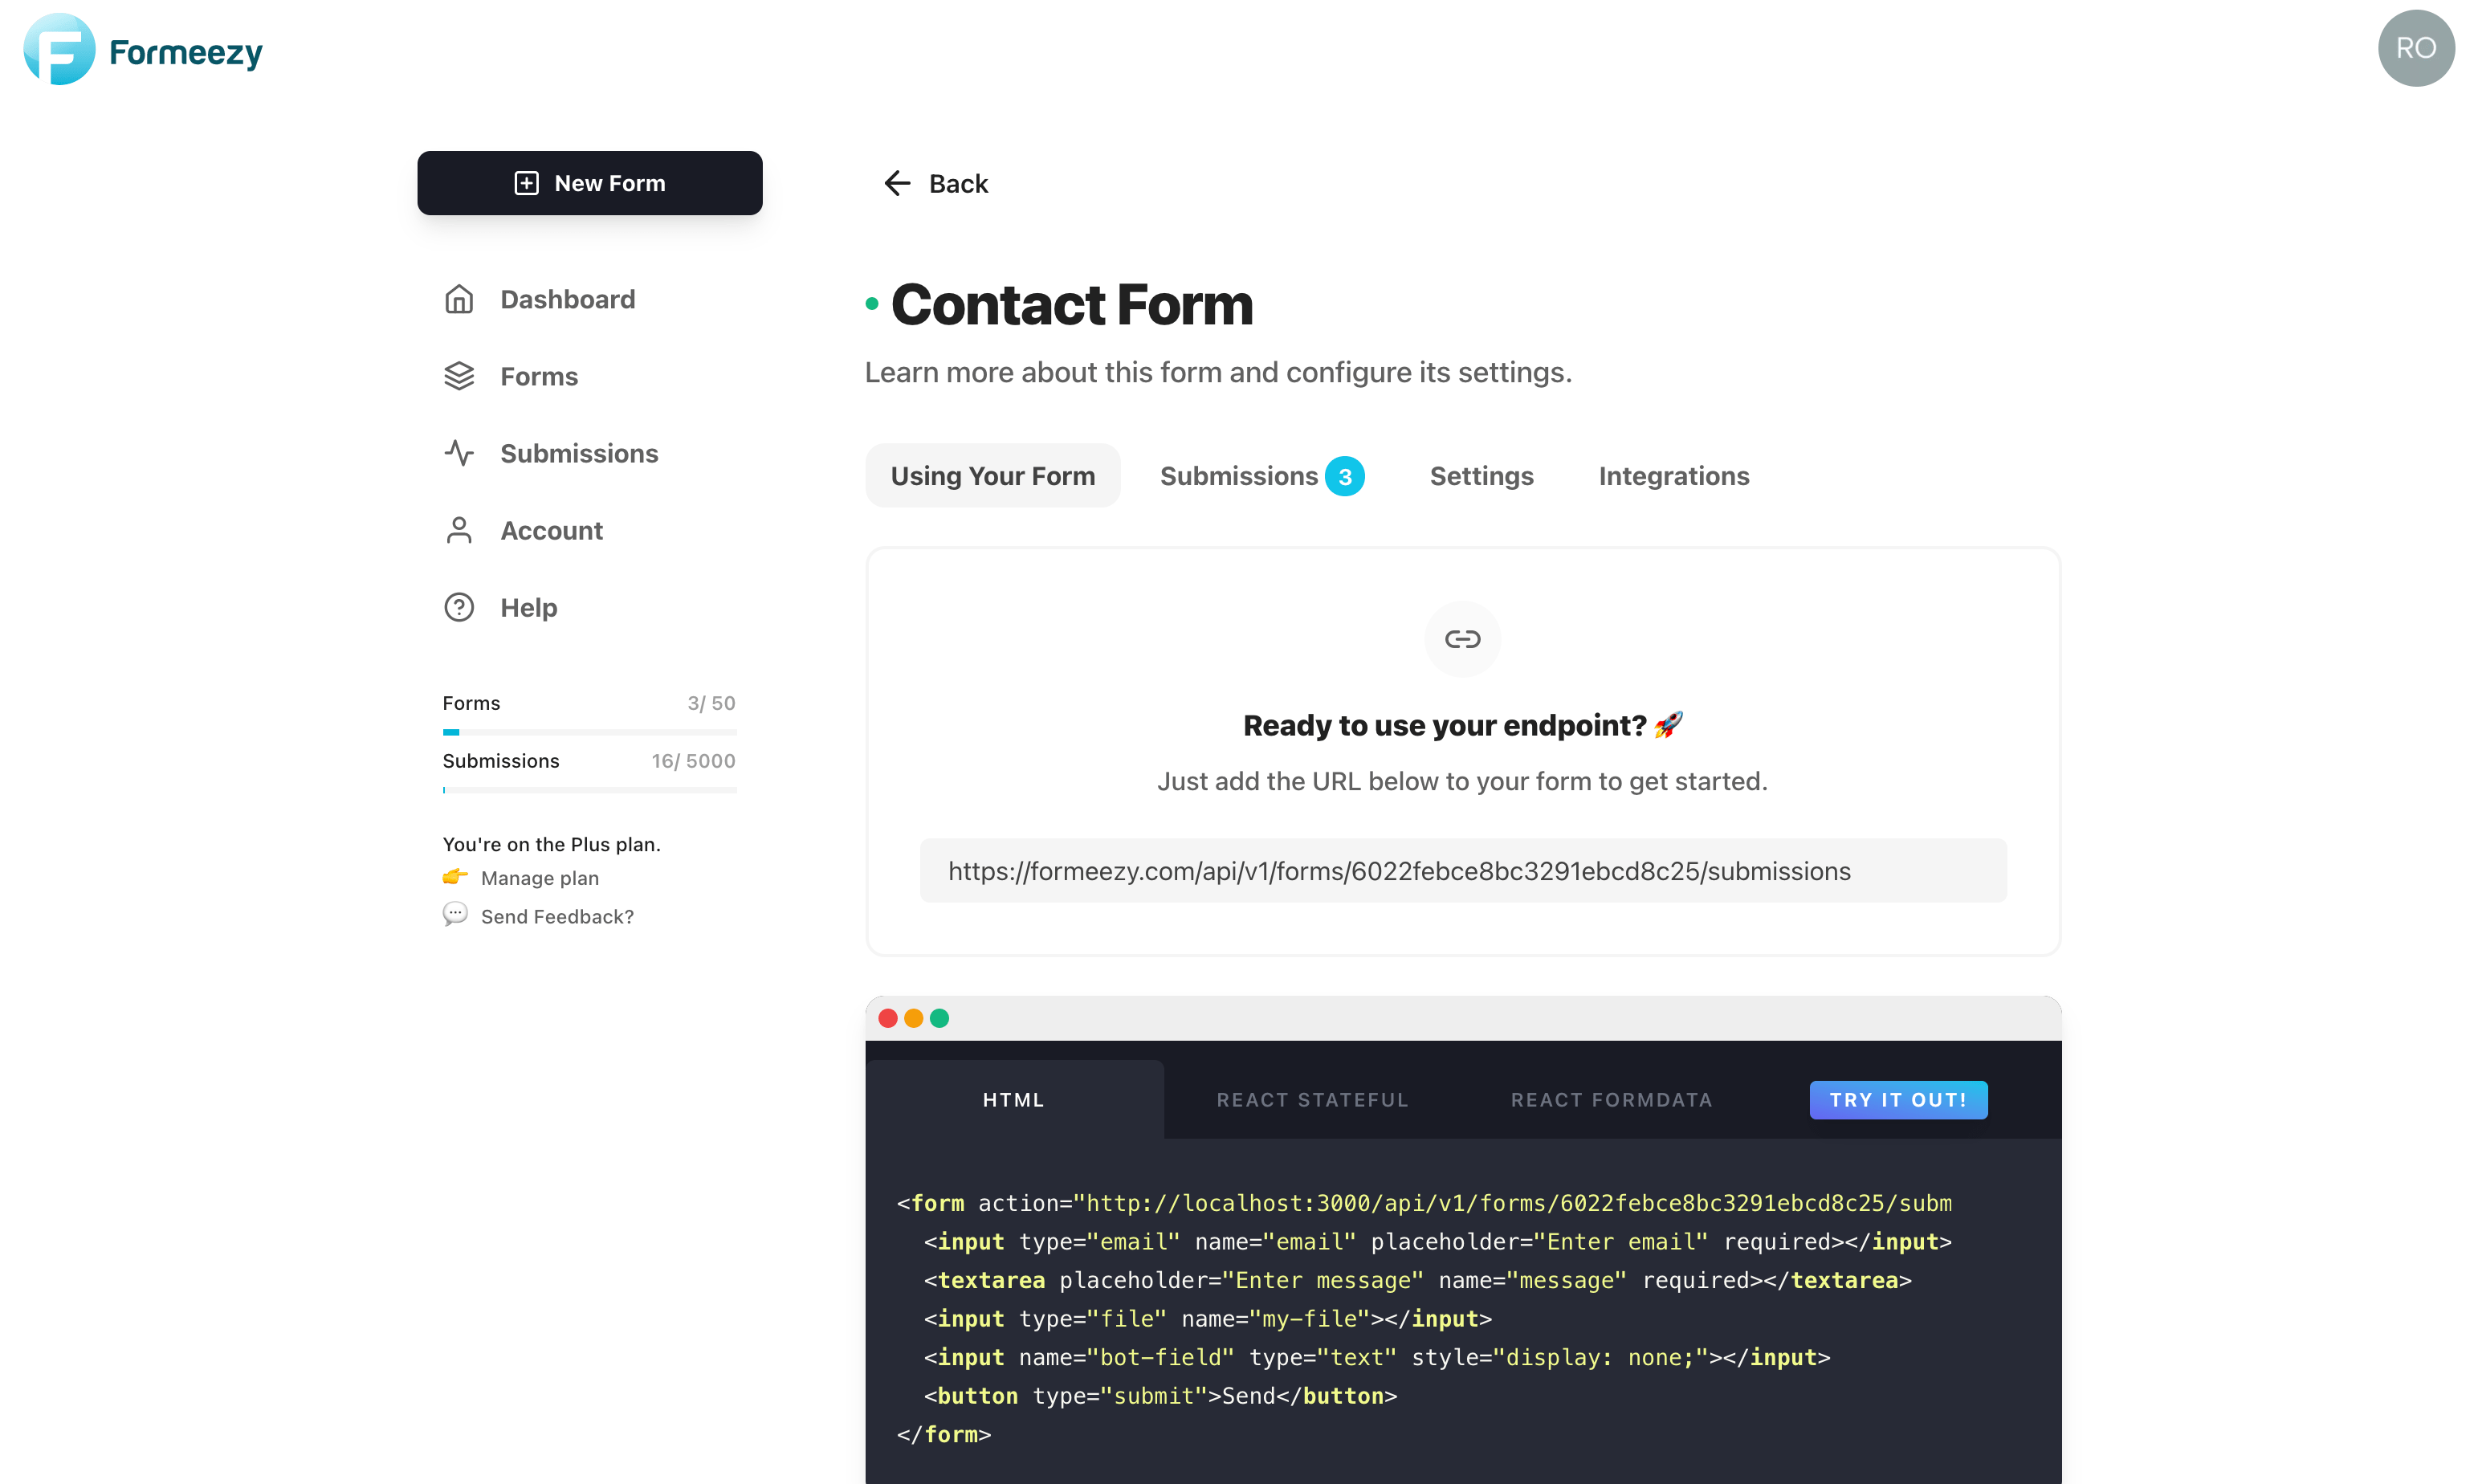
Gatsby supports HTTP POST forms (standard HTML forms) as well as forms built with React. Below is an example of a form that uses the action attribute to submit FormData to your unique Formeezy endpoint.
This is the simplest implementation to create a contact form, however if you'd prefer to create a React Stateful form, you can do that as well. This allows more robust field validation, as well as support for loading and other UI states.
Check out our React Form Example to see how you can implement a stateful React form component.
import React from "react"; const Contact = () => { return ( <div> <h1>My Contact Page</h1> <form action="{Formeezy-Endpoint}" method="POST" > <input type="email" name="email" placeholder="Enter email" required ></input> <textarea placeholder="Enter message" name="message" required ></textarea> <button type="submit">Send</button> </form> </div> ); }; export default Contact;
Step 4 - Try out your new contact form!
Save changes and navigate to localhost:8000/contact to see your form in action.
