How to Build A Contact Form With Next JS
Next JS is a popular static website builder with support for static pages, as well as server-side rendering. Next JS allows you to create lightning fast websites and apps built on React. Use the example below to easily create a contact form for your Next JS static website or app.
This guide should take you less than 5 minutes to get a contact form working and storing submissions in your Formeezy account.
Overview
- Create a new Formeezy endpoint
- Add a new contact page
- Add your HTML form to the contact page
- Try out your new form
Step 1 - Create a new Formeezy Endpoint
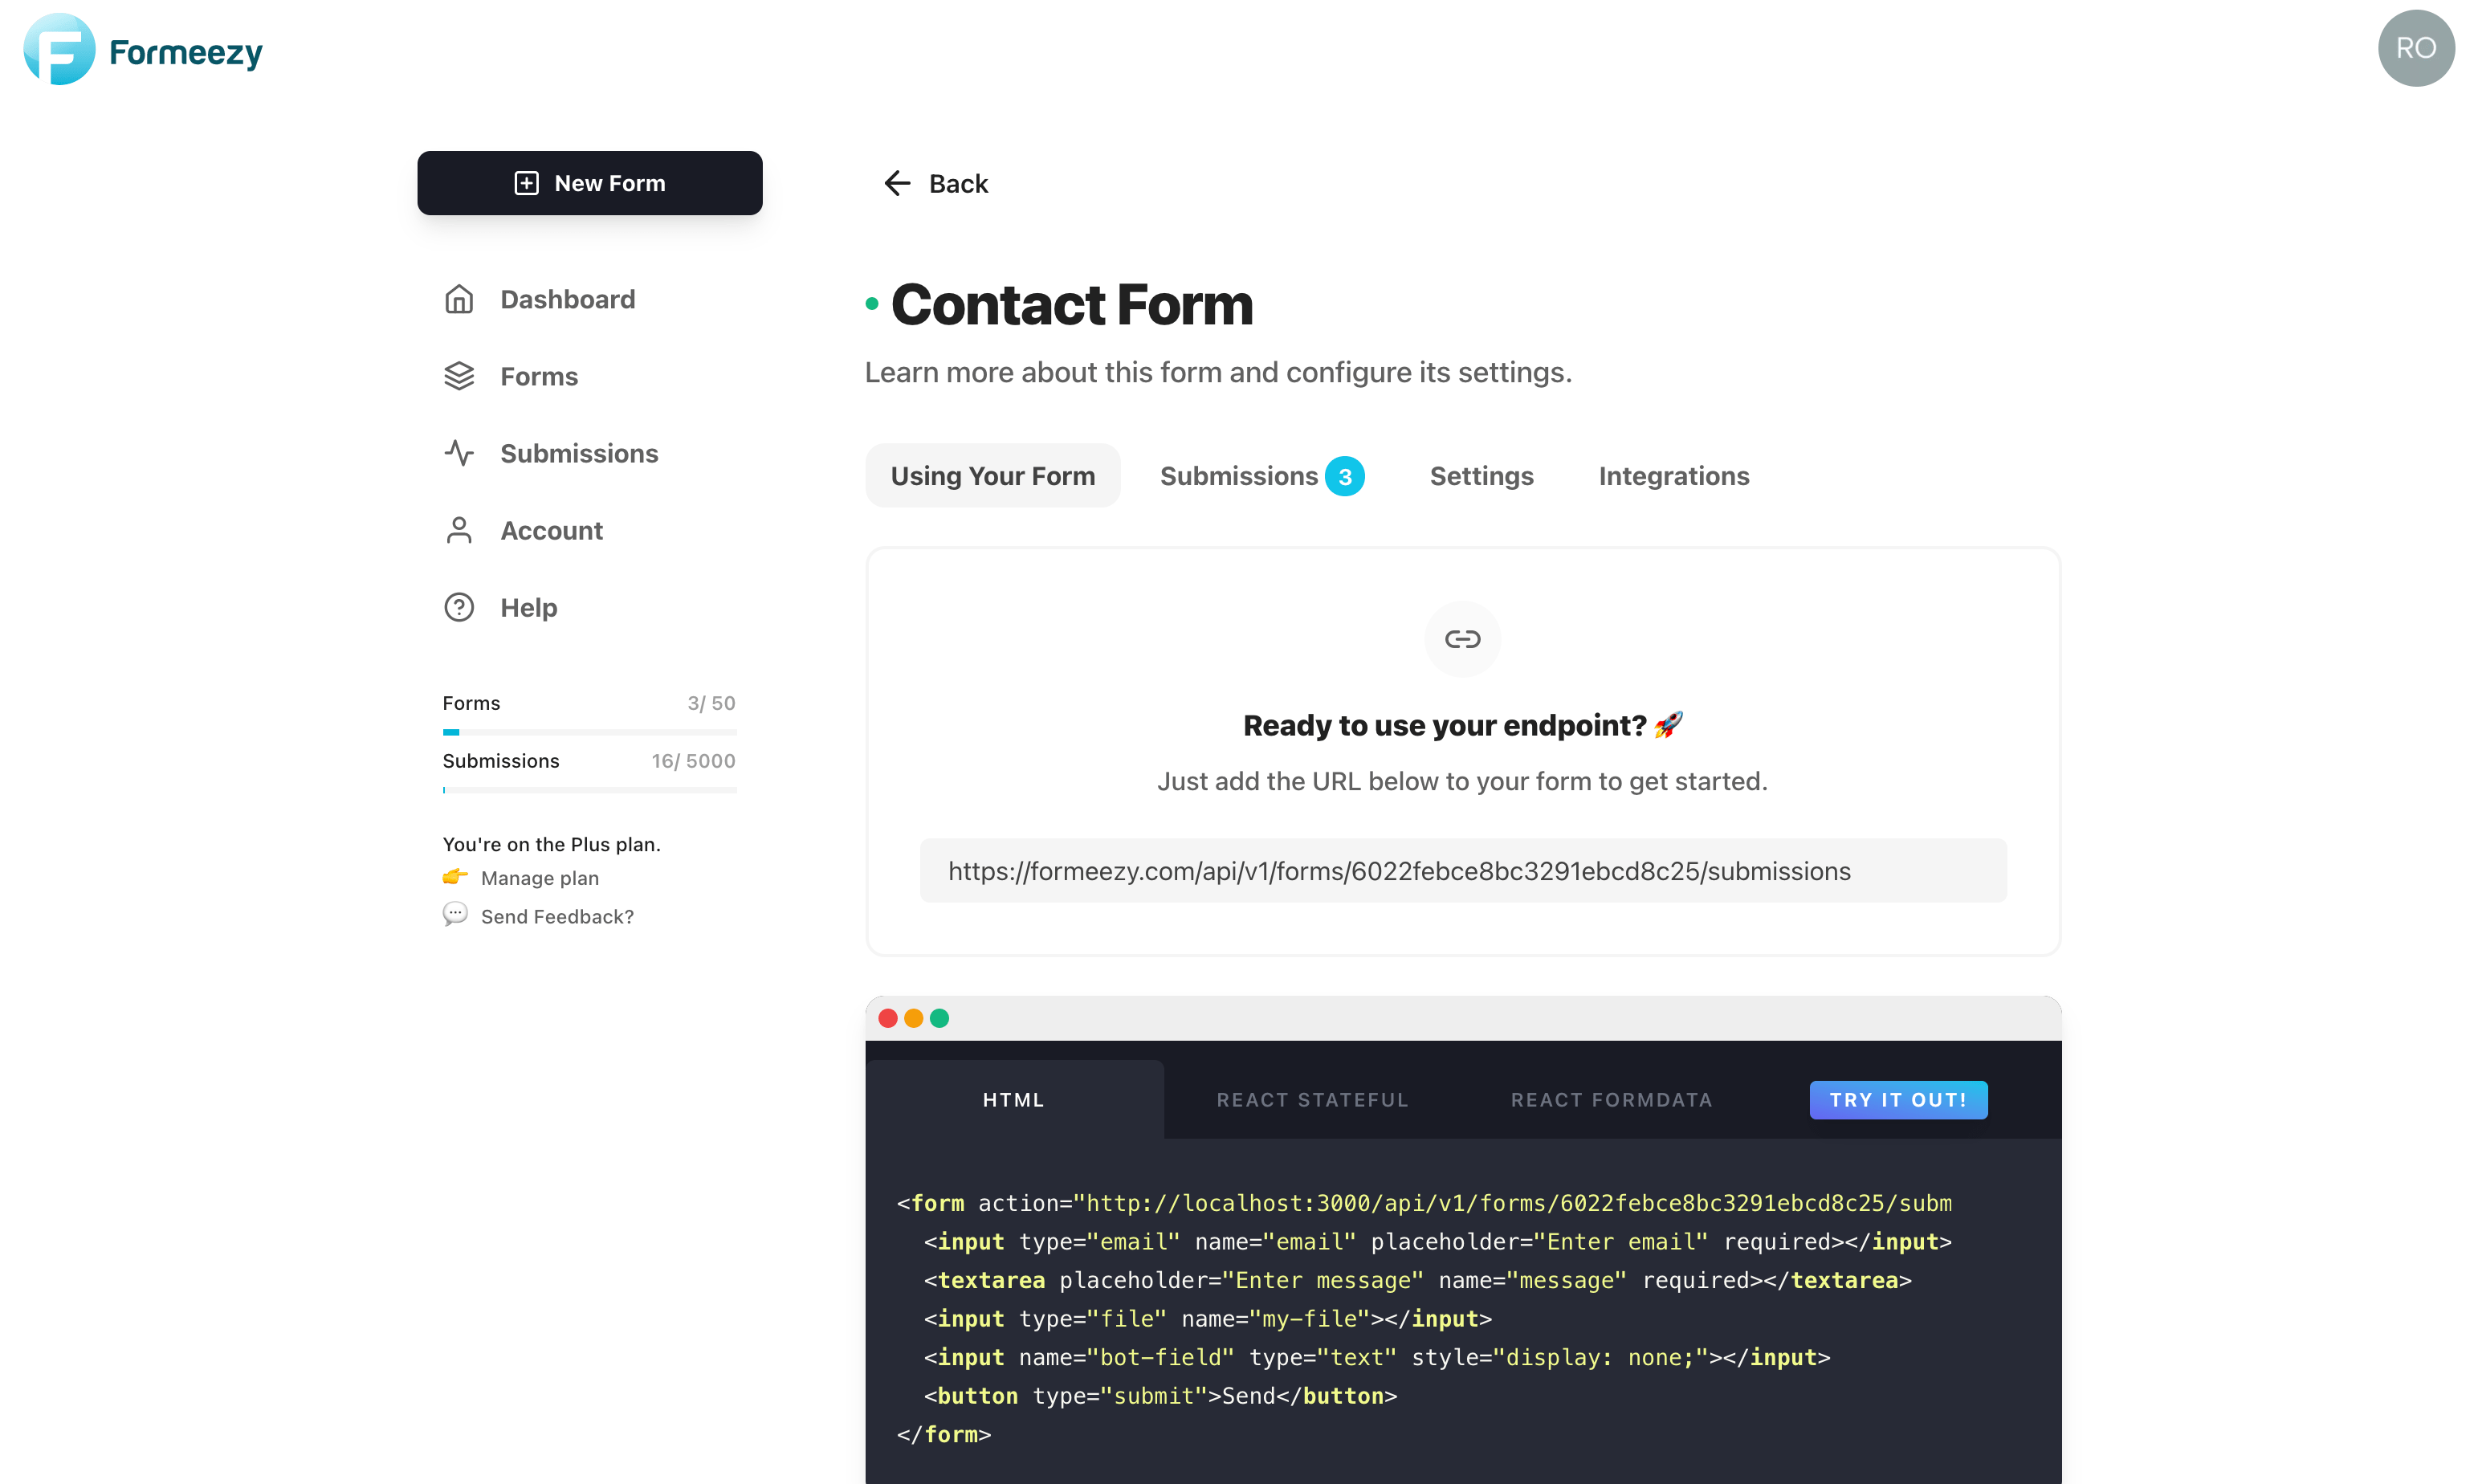
If you haven't already, create a new Formeezy endpoint to submit your form data to.
ENDPOINT "https://formeezy.com/api/v1/forms/FORM_ID/submissions"
Step 2 - Create your Contact Page
Create a new file called contact.js inside the /pages directory of your Next JS site. Next is based on React, so this is as simple as creating a new React Component.
import React from "react"; const Contact = () => { return ( <div> <h1>My Contact Page</h1> </div> ); }; export default Contact;
Step 3 - Add your Formeezy Form to your Contact Page
Next JS runs on React, so this example will be the same as our React Form Example. Create a new component called Form and replace the contents with the code example below. This example includes support for file uploads, as well as a spam honey-pot bot field.
From here, we'll add the form into our contact page, replace the endpoint with your unique Formeezy endpoint, and we're done!
import React from "react"; import axios from "axios"; const Form = () => { const [state, setState] = React.useState({ email: "", message: "", file: null }); function handleChange(e) { if (e.target.files) { setState({ ...state, [e.target.name]: e.target.files[0] }); } else { setState({ ...state, [e.target.name]: e.target.value }); } } async function handleSubmit(e) { e.preventDefault(); let formData = new FormData(); for (let [key, value] of Object.entries(state)) { formData.append(key, value); } // Use fetch or axios to submit the form await axios .post("{Formeezy-Endpoint}", formData) .then(({ data }) => { const { redirect } = data; // Redirect used for reCAPTCHA and/or thank you page window.location.href = redirect; }) .catch((e) => { window.location.href = e.response.data.redirect; }); } return ( <form onSubmit={handleSubmit}> <input name="email" type="email" placeholder="Enter email" onChange={handleChange} value={state.email} required /> <textarea name="message" placeholder="Enter message" onChange={handleChange} value={state.message} required /> <input type="file" name="file" onChange={handleChange} /> <input name="bot-field" type="text" onChange={handleChange} style={{ display: "none" }} /> <button type="submit">Send</button> </form> ); } const Contact = () => { return ( <div> <h1>My Contact Page</h1> <Form/> </div> ); }; export default Contact;
Step 4 - Try out your new contact form!
Save changes, start your site in development mode and navigate to localhost:3000/contact to see your form in action.
npm develop