Add A Contact Form To Your Jekyll Website
Jekyll is a popular static website builder that allows you to create lightning-fast static websites built with Markdown and Liquid based templates. Jekyll is a popular choice amongst static-site developers and is the engine used to power Github Pages. Use the example below to easily create a new contact form for your Jekyll static website.
This form builds on our Basic Form Example with support for reCAPTCHA, Stripe, and file uploads.
This guide should take you less than 5 minutes to get a contact form working and storing submissions in your Formeezy account.
Overview
- Create a new Formeezy endpoint
- Create a new HTML contact form
- Add a new contact page
- Add your HTML form to the contact page
- Try out your new form
Step 1 - Create a new Formeezy Endpoint
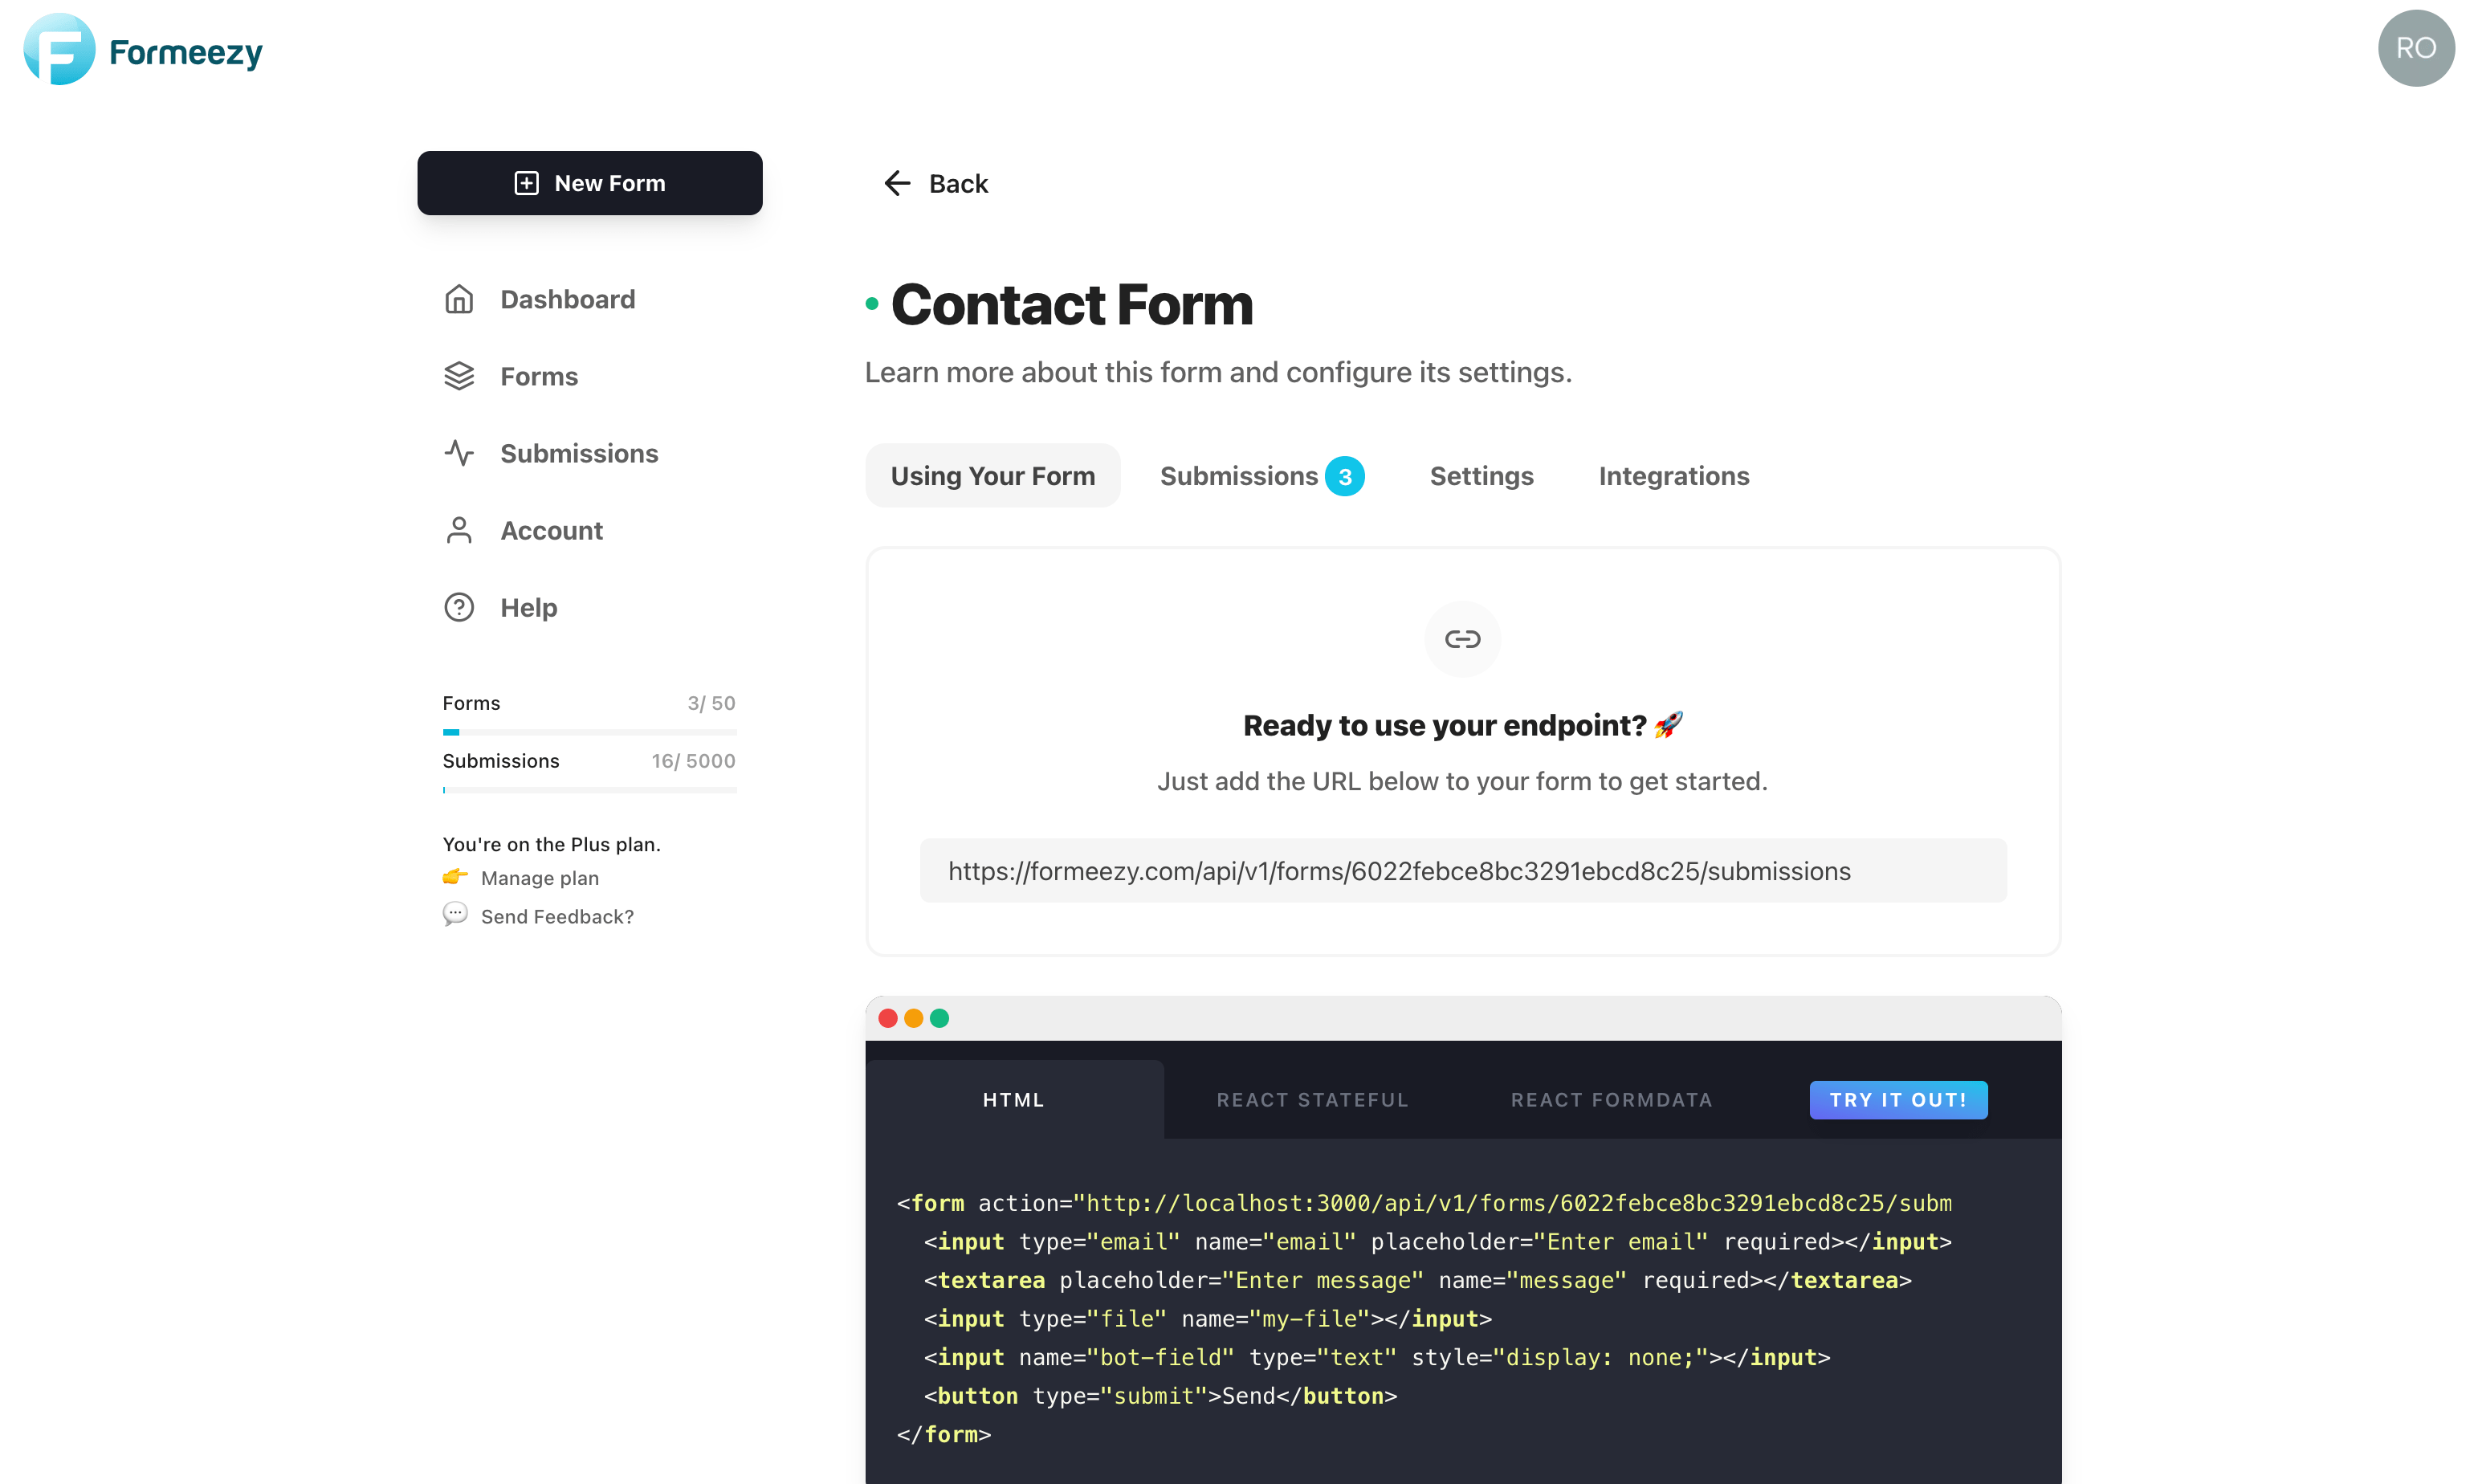
If you haven't already, create a new Formeezy endpoint to submit your form data to.
ENDPOINT "https://formeezy.com/api/v1/forms/FORM_ID/submissions"
Step 2 - Create your HTML contact form
To get started, you'll need to create an HTML form for your users to fill out and send submissions. When you create your endpoint, we'll automatically generate a starter contact form for your convenience. Feel free to copy the one below, or copy directly from the default code we create for your form.
<form action="{Formeezy-Endpoint}" method="POST"> <input type="text" name="name" placeholder="Enter name" required></input> <input type="email" name="email" placeholder="Enter email" required></input> <textarea placeholder="Enter message" name="message" required></textarea> <button type="submit">Send</button> </form>
Step 3 - Create a new Contact page
Create a new folder nested in your _site directory called contact. Inside your new contact folder, add an index.html file. Next, create a new Markdown (md) file and name it contact.md. Add the code example below to finish your page. We'll be using the standard page template in this example.
--- layout: page title: Contact Us! permalink: /contact/ --- <!-- FORM GOES HERE -->
Step 4 - Add your Formeezy Form to your Contact Page
Now that your page is ready to go, let's add your contact form. First, replace the action attribute of your form with your Formeezy Endpoint. From there, copy your form into your markdown file (contact.md) and save changes. You're ready to test it out!
--- layout: page title: Contact Us! permalink: /contact/ --- <form action="{Formeezy-Endpoint}" method="POST"> <input type="text" name="name" placeholder="Enter name" required></input> <input type="email" name="email" placeholder="Enter email" required></input> <textarea placeholder="Enter message" name="message" required></textarea> <button type="submit">Send</button> </form>
Step 5 - Try out your new contact form!
Save changes and navigate to localhost:4000/contact to see your form in action. Your form is now ready to accept submissions and store them in your Formeezy account.