How to Build A Contact Form With Ghost
Ghost is a popular full-stack publishing platform. It functions as an all-in-one CMS that allows you to host, manage, and deploy websites with features like subscriptions, premium content, analytics, and more. This guide will show you how to create a custom contact page template for your Ghost site, complete with a contact form using Formeezy.
Overview
- Create a new Ghost template
- Create a new Formeezy endpoint
- Add your HTML form to your template
- Try out your new form
Step 1 - Create a new Ghost template file
To get started, we're going to create a new template file at the root of your Ghost theme called contact-page.hbs. From here we're going add a contact form that utilizes your Formeezy endpoint.
Pro Tip From Ghost: Open your page.hbs template and copy the contents to get started without any additional styling, as well as to match you existing look and feel.
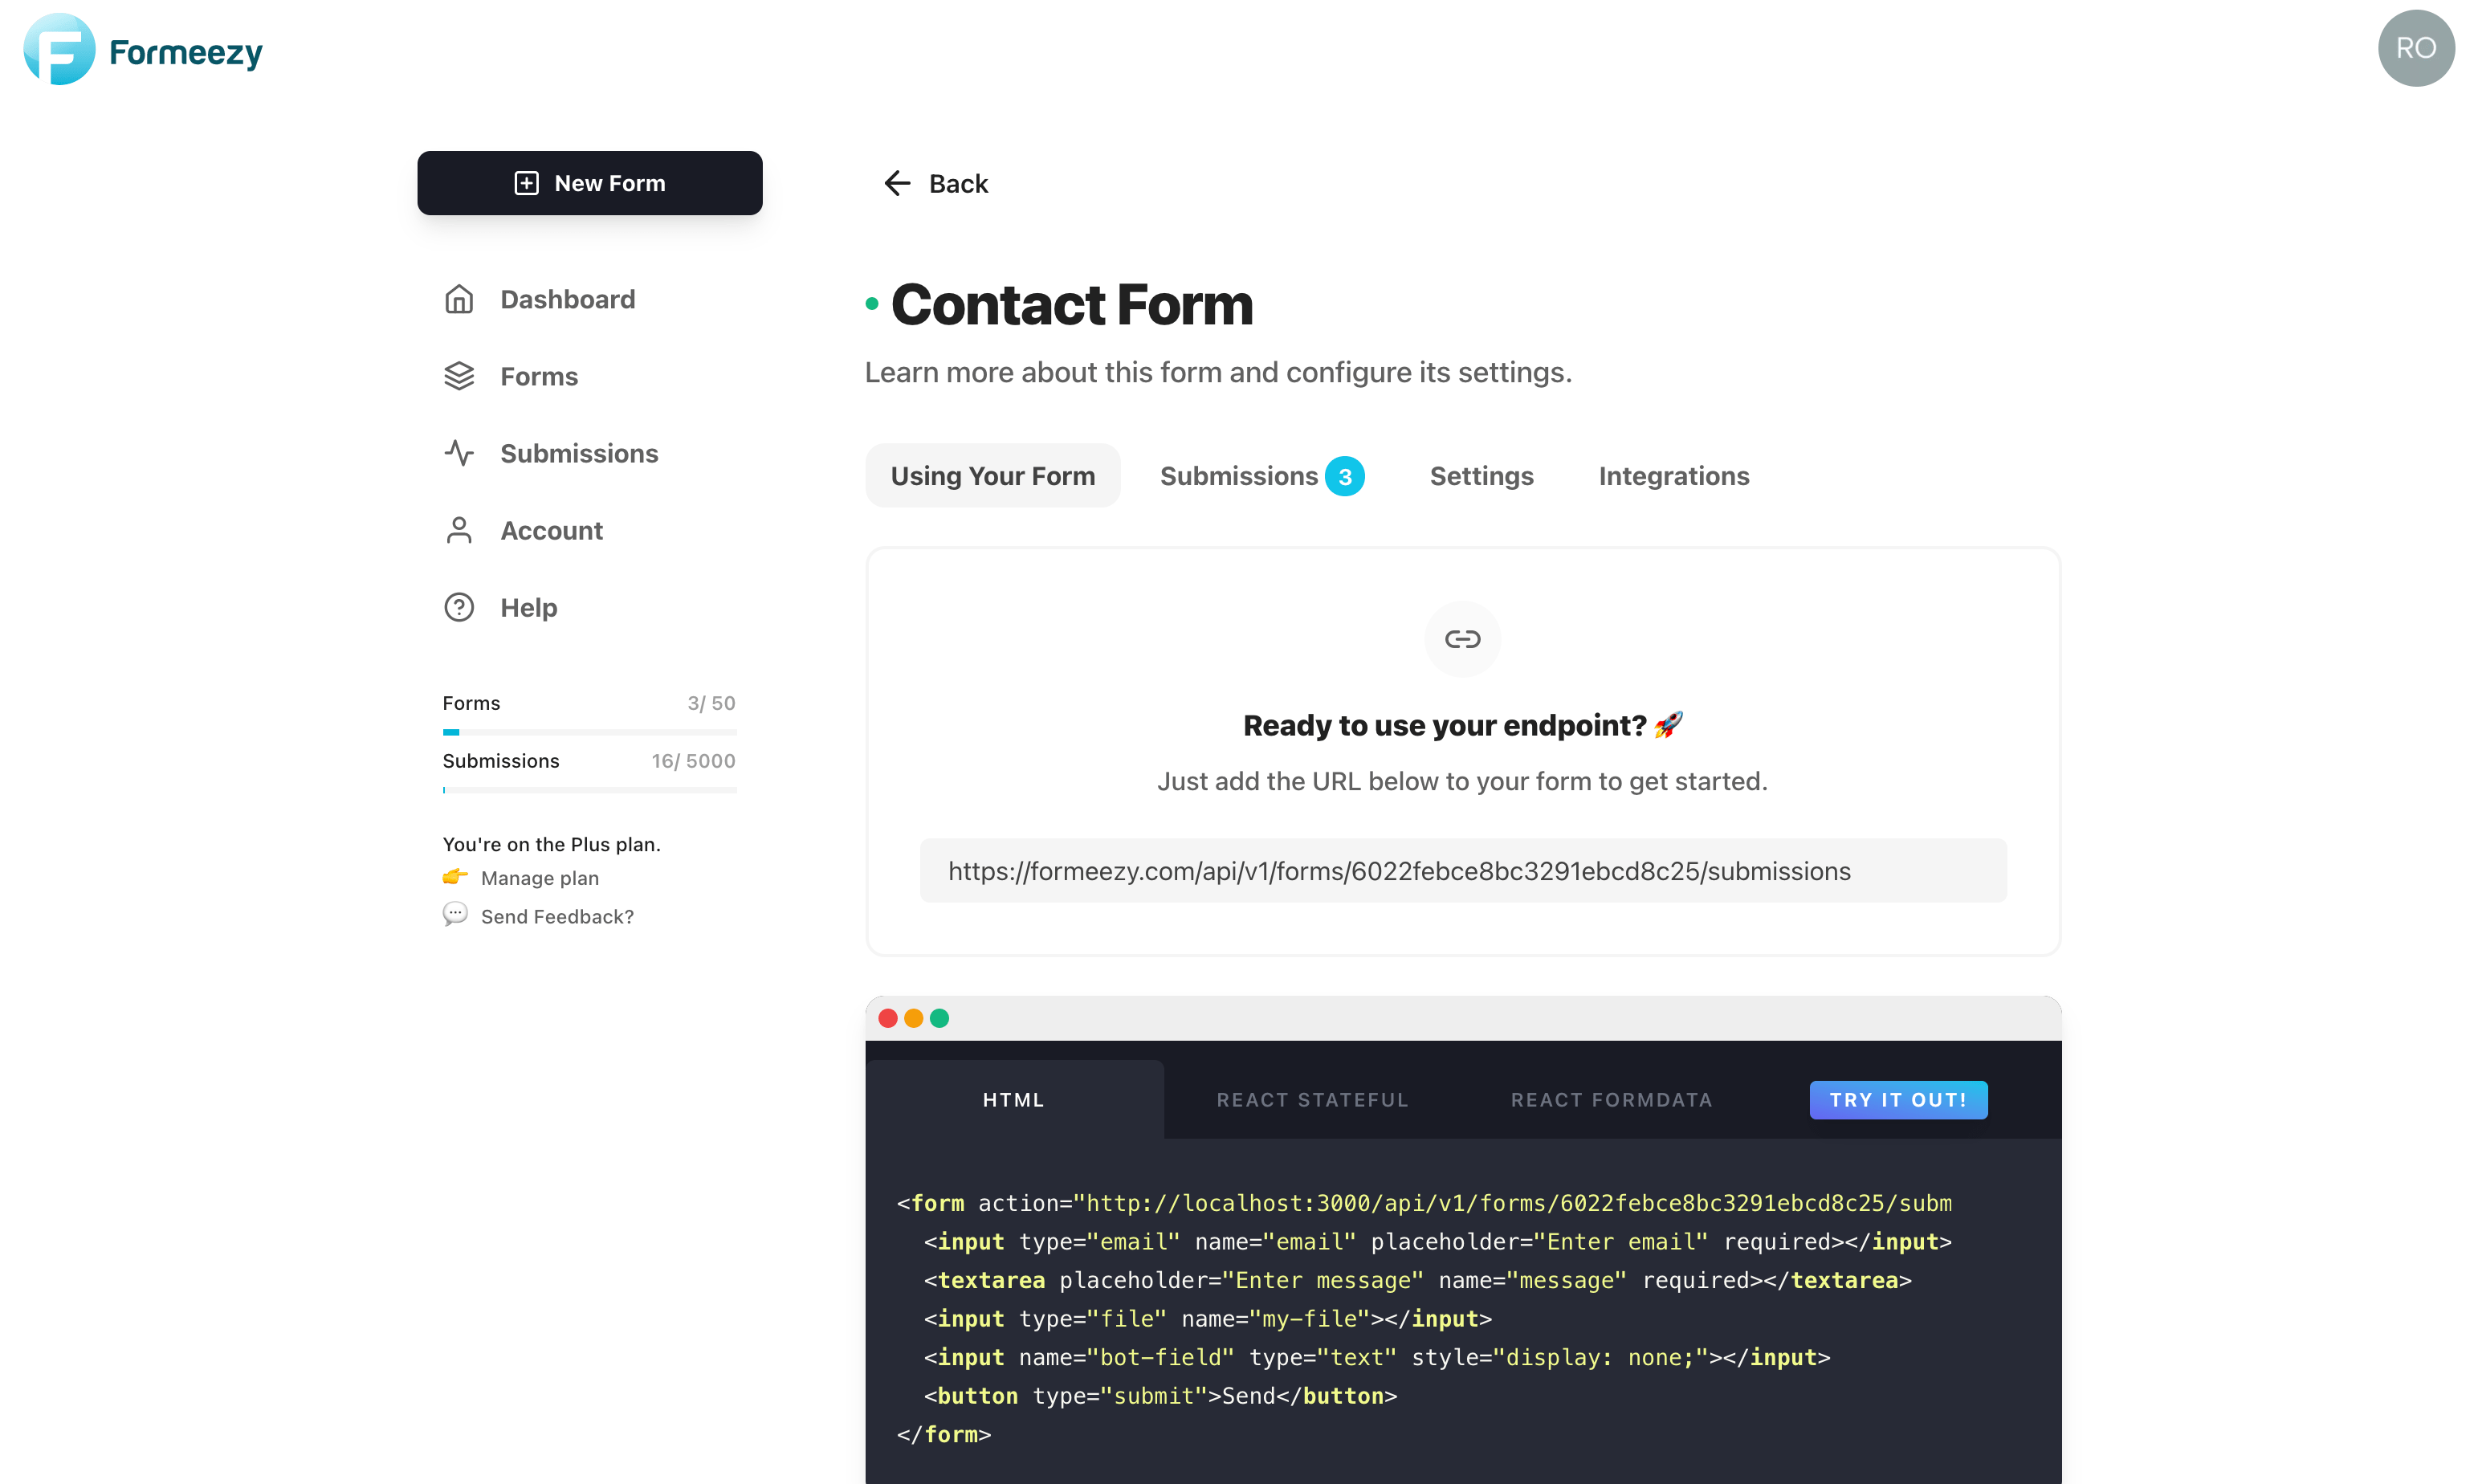
Step 2 - Create a new Formeezy Endpoint
If you haven't already, create a new Formeezy endpoint to submit your form data to.
ENDPOINT "https://formeezy.com/api/v1/forms/FORM_ID/submissions"
Step 3 - Design your Contact Page
Inside your new template file, find the location you would like to add your contact form. A good starting point is after the main page content. Use the starter code supplied in the Formeezy dashboard to get started. Click here to see our official example.
<form action="{Formeezy-Endpoint}" method="POST"> <input type="email" name="email" placeholder="Enter email" required></input> <textarea placeholder="Enter message" name="message" required></textarea> <button type="submit">Send</button> </form>
Step 4 - Add your Formeezy Form to your Contact Page Template
Inside your newly created template: contact-page.hbs, find the location where you would like to display your contact form and copy the starter code from above in it.
<section class="post-full-content"> <div class="post-content"> {{content}} </div> <form action="{Formeezy-Endpoint}" method="POST"> <input type="email" name="email" placeholder="Enter email" required></input> <textarea placeholder="Enter message" name="message" required></textarea> <button type="submit">Send</button> </form> </section>
Step 5 - Try out your new contact form!
Any submission sent using this form will now be available inside your Formeezy Dashboard. Save your theme changes and apply your new template to a page on your Ghost site to see your form in action.